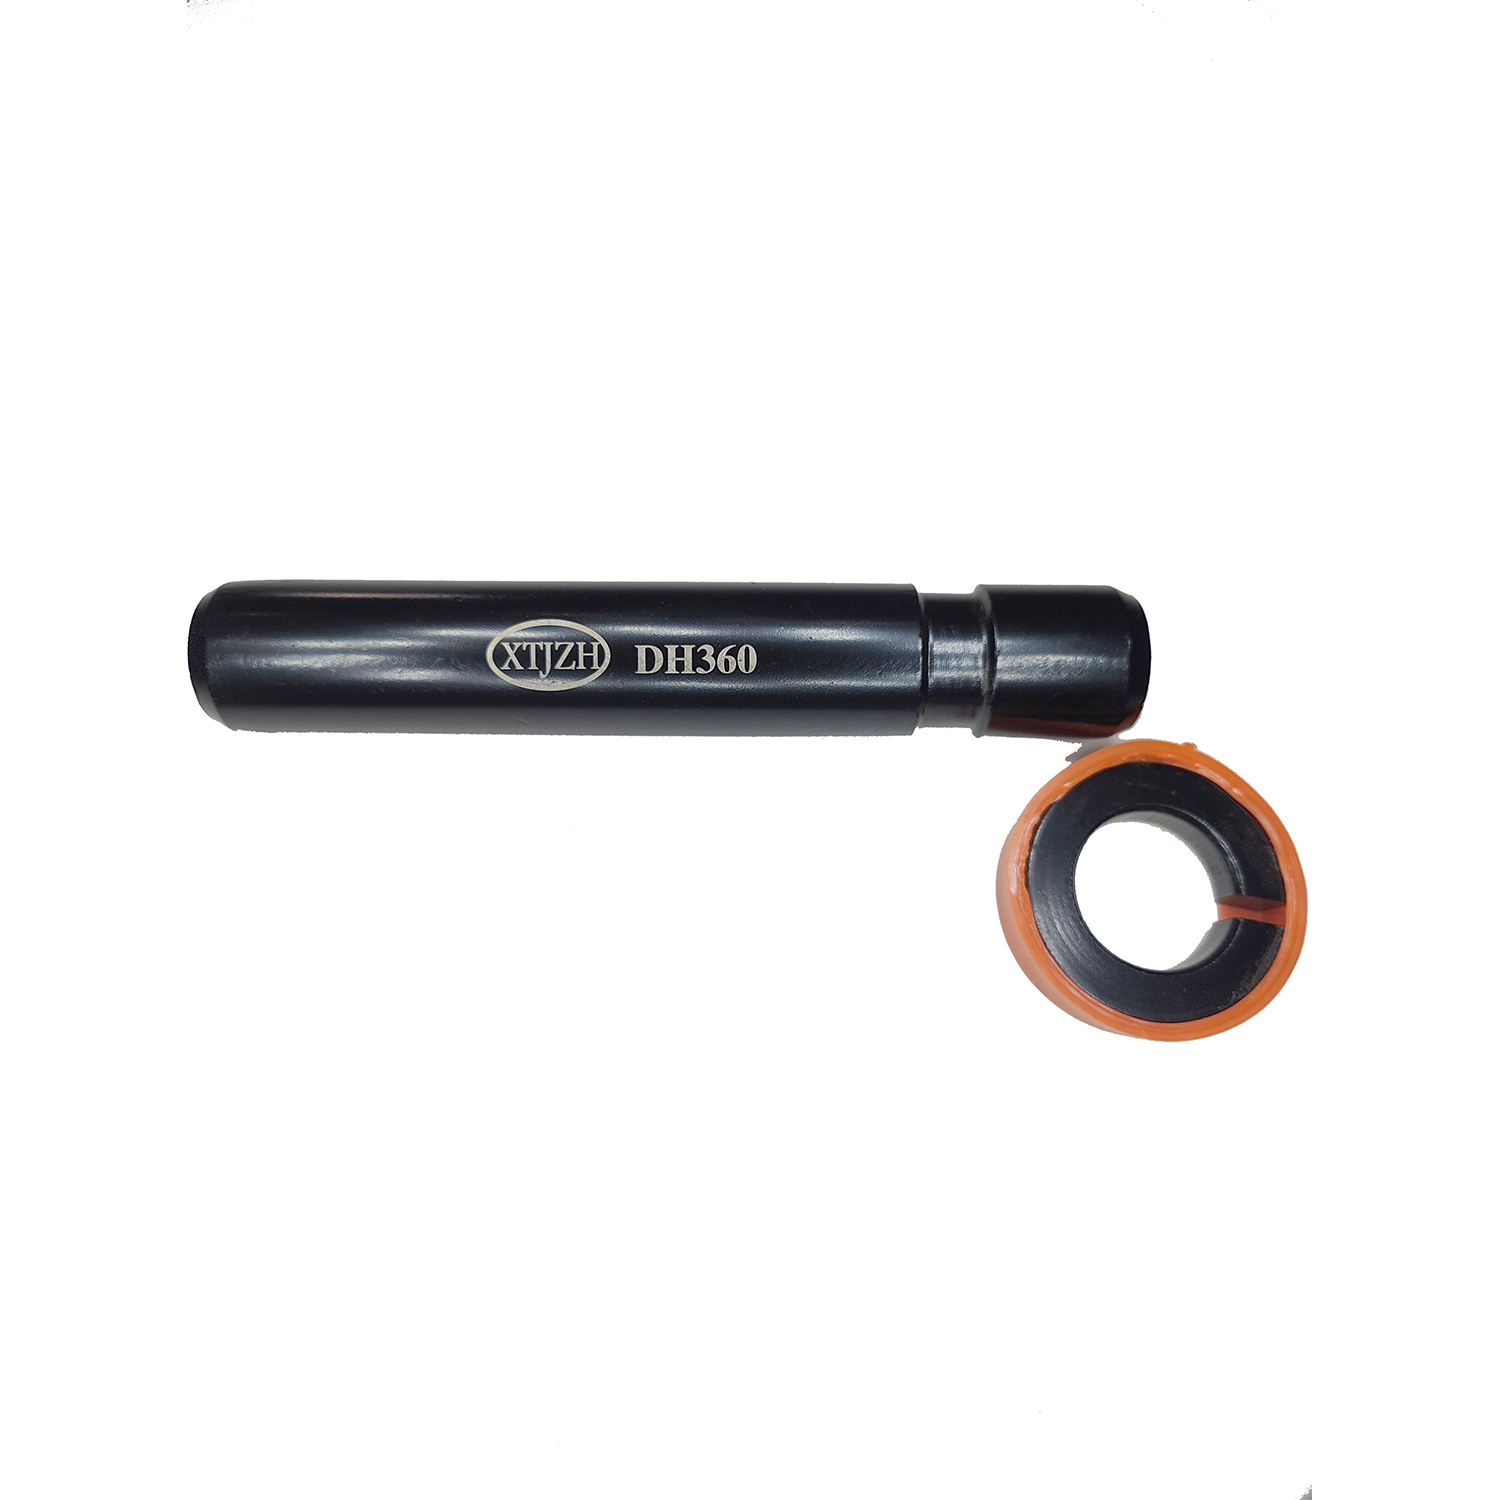
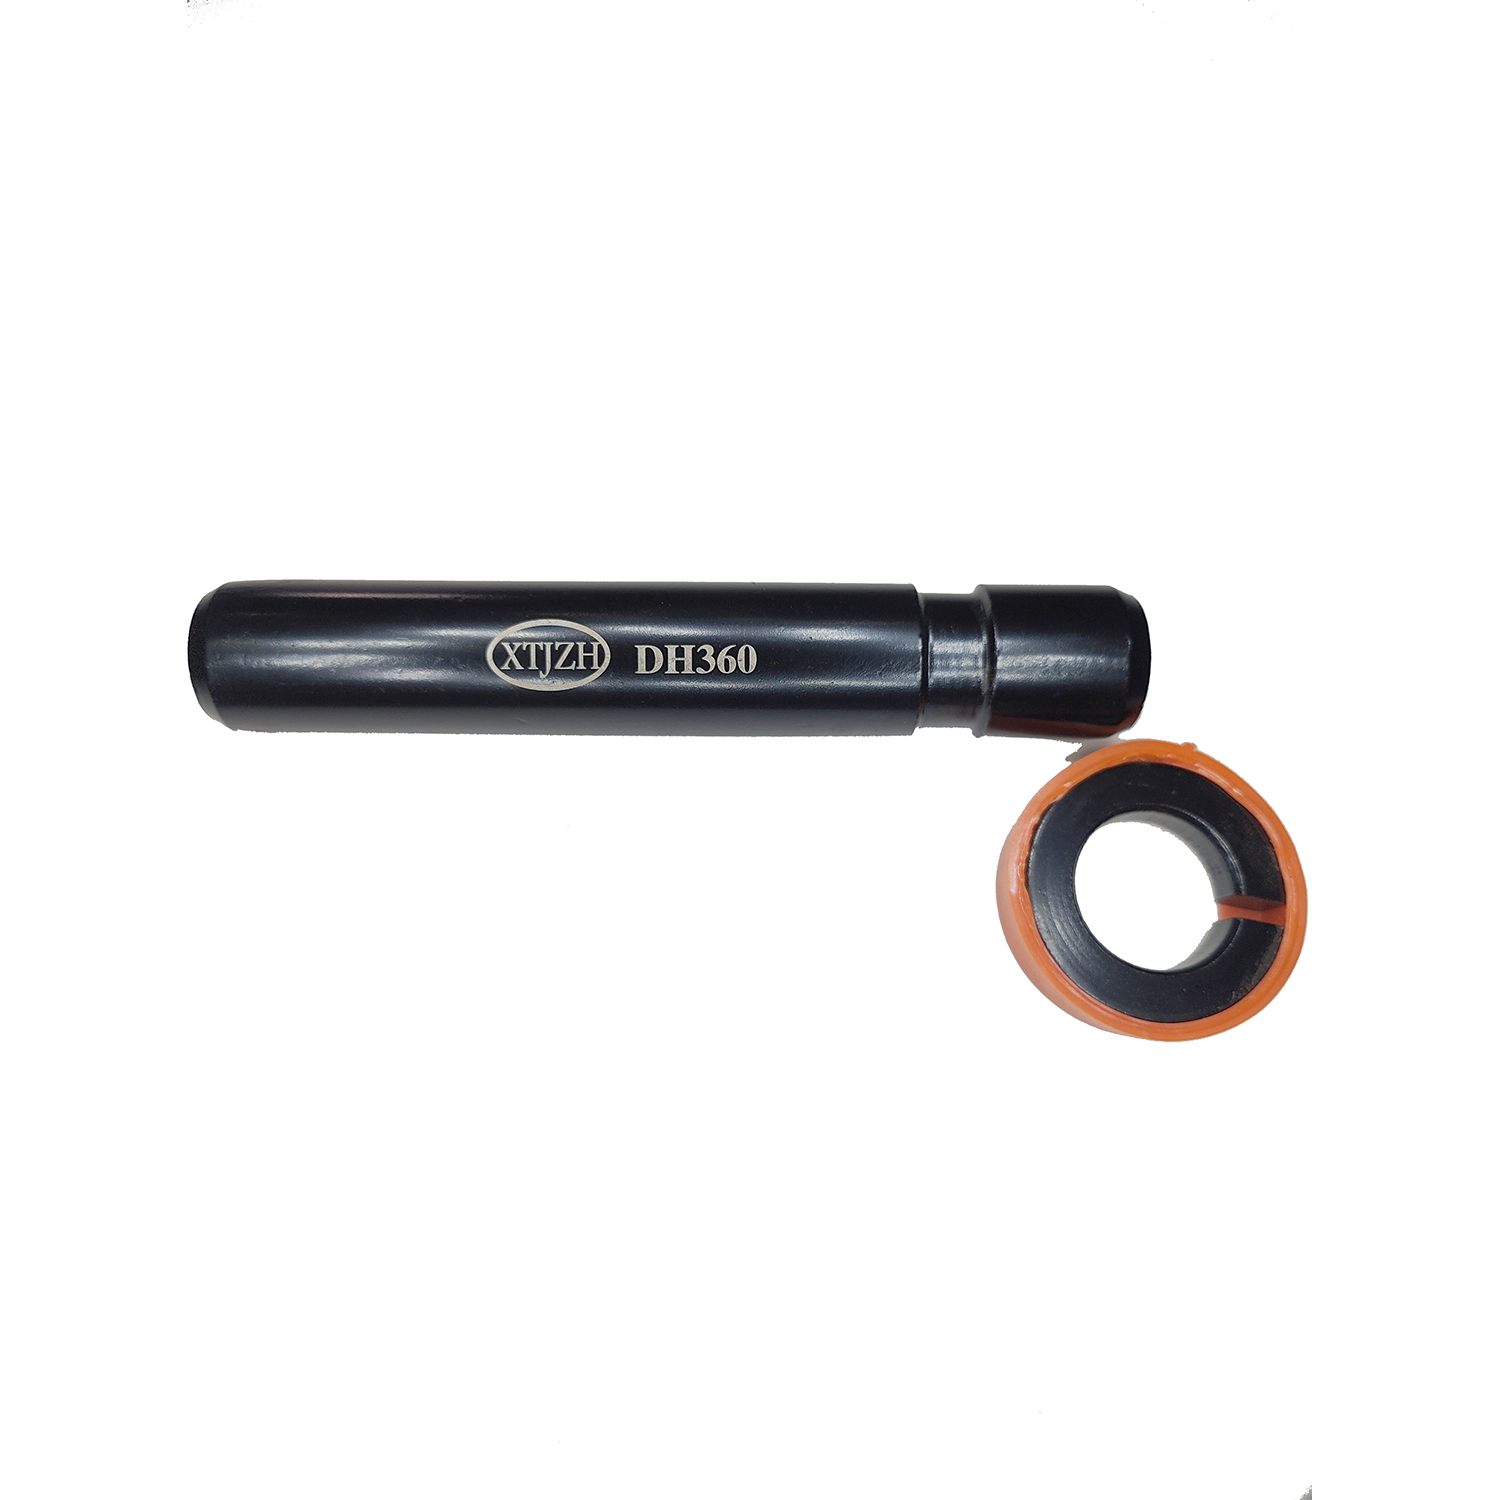
The excavator tooth pin may look like a small part, but it plays a huge role in keeping your bucket teeth secure. A loose or incorrectly installed tooth pin can cause your bucket teeth to fall off in the middle of work—leading to delays, safety risks, and unnecessary repair costs.
So, how do you install an excavator tooth pin the right way? Don’t worry, it’s not rocket science. Here’s a step-by-step guide to make sure your installation goes smoothly.
1. Gather the Right Tools First
Before you start, make sure you have:
-
The correct excavator tooth pin and retainer for your machine (CAT, Komatsu, Hitachi, Volvo, etc.)
-
A hammer or mallet (rubber preferred for final fitting)
-
A pin removal tool (if you’re replacing old pins)
-
Safety gear (gloves, goggles—because yeah, flying metal isn’t fun)
👉 Pro tip: Always double-check that the new pin matches your machine model and adapter size. Even a slight mismatch can cause loosening.
2. Remove the Old Tooth Pin
-
Secure the excavator bucket so it doesn’t move.
-
Use a hammer or removal tool to knock out the old pin from the adapter.
-
If the pin is rusted or stuck, apply a little penetrating oil and give it a few minutes.
Quick note: If you’re struggling to remove it every single time, it could mean you need higher-quality alloy steel pins that resist corrosion.
3. Clean the Adapter and Tooth
Once the old pin is removed, clean the slot where the new pin will sit. Dirt, rust, or debris can prevent a proper fit.
-
Use a wire brush or compressed air to clear the area.
-
Check for cracks or damage on the adapter—because if the adapter is worn out, even the best pin won’t fit properly.
4. Install the New Tooth Pin
Now comes the fun part:
-
Slide the new bucket tooth onto the adapter.
-
Insert the tooth pin into the locking hole.
-
Hammer gently until the pin is flush with the adapter.
-
If a retainer clip is used, secure it tightly.
And that’s it! Just make sure the tooth feels snug—no wobbles allowed.
5. Double-Check After Installation
After installing, run the excavator for a short test. If the tooth feels loose, stop immediately and re-check the installation.
Remember, a tooth pin is a safety-critical part. Don’t take shortcuts—because replacing a pin is cheap, but losing a bucket tooth mid-operation can cost a fortune.
6. Maintenance Tips to Make Tooth Pins Last Longer
-
Inspect regularly: Check pins every 100–150 hours of operation.
-
Lubricate lightly before installation to prevent rust (but don’t overdo it).
-
Replace together with bucket teeth: Usually, pins should be changed when you replace the tooth.
-
Use quality pins: Heat-treated alloy steel or 40Cr pins last longer than cheaper alternatives.
Installing an excavator tooth pin isn’t complicated—but doing it right ensures safety, efficiency, and cost savings. With the correct tools, proper cleaning, and the right pin from a trusted supplier, you can keep your excavator running at peak performance without the headache of loose or broken parts.
At Nan’an Jinxin Machinery, we supply OEM-compatible excavator tooth pins for CAT, Komatsu, Hitachi, Volvo, Hyundai, and more. Our pins are made from high-strength alloy steel, precision machined, and treated for maximum durability.


 No. 550, Xiacuo, Sihuang Village, Xiamei Town, Nan'an City, Quanzhou City, Fujian Province, China

 Contact